To add an item to the Drop Box:
1. Enter the necessary course and click the Drop Box icon in the left tools menu.
2. Click the New button in the header of the page and select New Item.
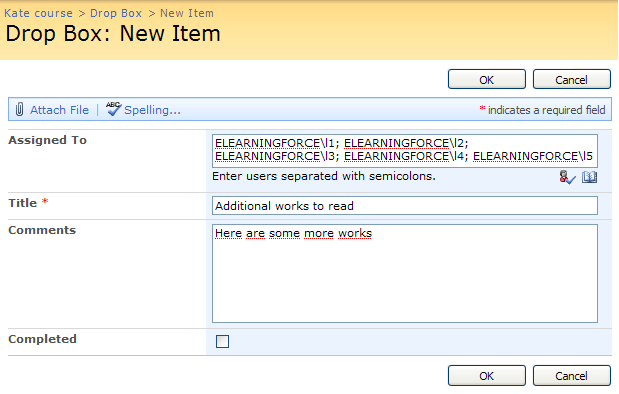
Fig. ‘Adding Items to Drop Box’
3. Fill out the form fields as described below (fields marked with an asterisk are required to be filled out):
- Assigned To – select the users whom you want to assign the file. The file will be visible for the selected users only.
- Title – enter the title for the assignment
- Comment – leave a comment on the file if necessary
- Completed – check the box if you want to mark the item as completed
4. Click Attach File to attach the necessary file
5. Click Spelling to check the spelling
6. When finished press the Ok button either at the top or at the bottom of the page; to discard changes press Cancel.
|
NOTE: |
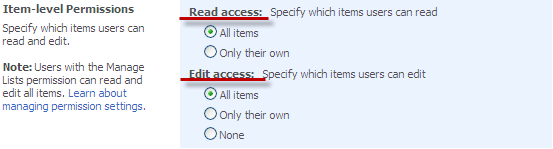
Students can only view added items; items modification is impossible. By default, the All items radio button is selected for the Read access and Edit access options.
(Drop Box ->Settings -> List Settings ->General Settings ->Advanced Settings)
It is not recommended to modify the default settings. If Only their own or None radio buttons are selected, settings will remain the same (users will only be able to view items; modification is impossible anyway). |