When users are available for meetings, they create time intervals where they specify meetings time.
To create a timetable,
1. Click the Timetable link in the left. The Calendar grid will appear.
2. Click New Item at the top of the page
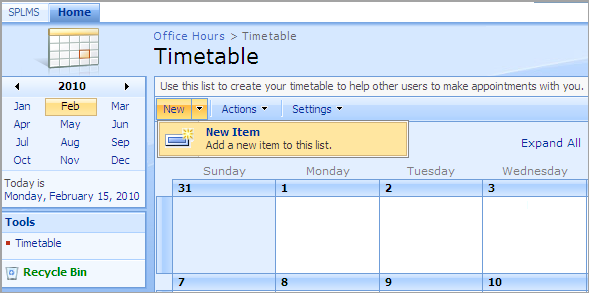
Fig. Creating a Timetable
3. Fill in the fields as required

Fig. Timetable: New Item
- Title – enter the time interval title
- Location – specify where meetings will take place
- Start time – specify start time of the time space
- End Time – specify end time of the time space
- Default interval – specify the meeting duration
- Description – enter a short description of a meeting, if necessary.
- All Day event – Select the check box if the time space should be applied to the whole day rather than be limited by particular hours within the day (if you select the check box, the Start Time and End Time fields valued will become unavailable);
- Recurrence - Select the check box if the time space should be repeated with a certain interval. Specify the recurrence details with the help of section controls:
§ Select the recurrence interval (for example, Weekly or Monthly)
§ In the Pattern section define the days when the event should occur
§ In the Date Range section specify the start and end day for the event
4. Click OK to save the settings. Click Cancel to discard changes.
|
NOTE: |
Users can edit only their own timetables. |