Seating Chart is a seating scheme used for arranging students in courses.
To create a Seating Chart,
1. Enter the necessary course.
2. Select the Seating Chart tool in the left tools menu. The seating chart area will appear.
3. Click the Edit button at the top.
4. Create a seating chart. To do this, you can either
Ø Select a template from the Room drop-down menu. For more information about creating templates, see the Uploading a Room and Creating a Room paragraphs.
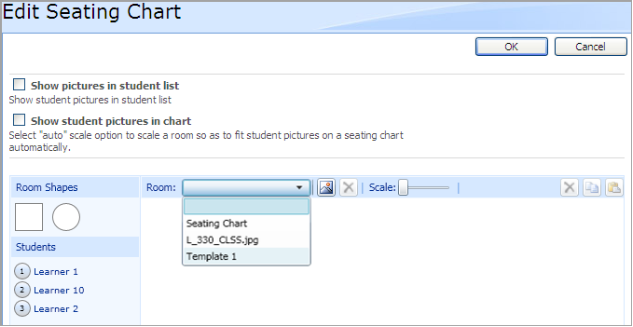
Fig. Selecting a Room
Ø Create a new seating chart with the help of room shapes. Room shapes can be arranged in any way. To arrange room shapes, drag and drop the necessary shapes to the white area. Room shapes can be resized and rotated.
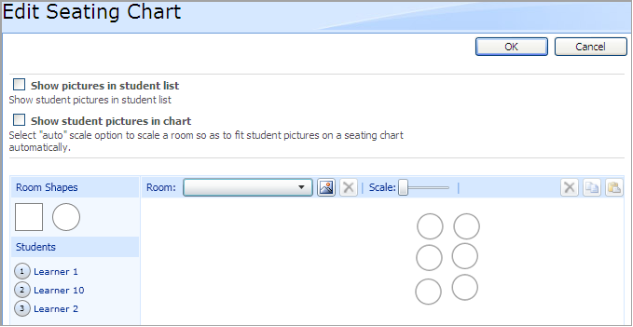
Fig. Creating a Seating Chart
Ø Download a room template by clicking Load room background from a picture.
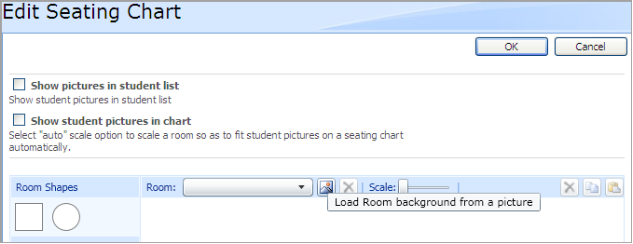
Fig. Loading Room background
|
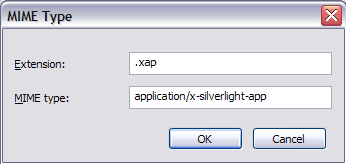
NOTE: |
To use Seating Chart, you may need to register the .xap file extension (Silverlight file extension) in IIS. Register the MIME type for .xap to application/x-silverlight-app. The Silverlight version should be 3.0 or later.
|
5. Once a chart is created, drag and drop students from the menu on the left to the corresponding seats
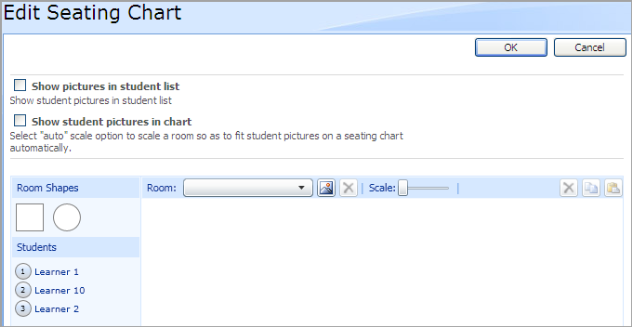
Fig. Arranging Students
Once students are placed to the corresponding seats, circles with numbers appear on room shapes. To view student info, navigate to the corresponding circle.
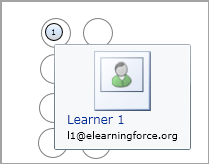
Fig. Viewing Student Info
You can also use the following options:
- Scale – to zoom out the chart.
- Auto – to return to the chart default view.
- Show pictures in student list – to be able to see photos of your students in the student list.
- Show student pictures in chart – to be able to see photos of your students in the chart. For the pictures to fit best in the chart select Auto scale. The room will be scaled as well. Note that pictures will fit best on the Seating Chart tool main page while on the Edit page the proportions of the chart and pictures are not constrained.
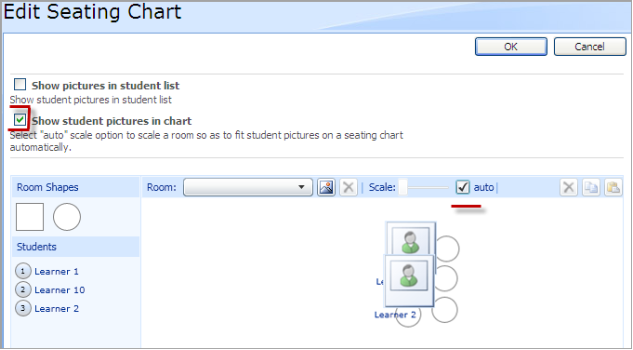
Fig. Showing Student Pictures
6. Click OK to save the chart. Click Cancel to discard changes.
Once a seating chart is created it will appear on the Seating Chart tool main page.
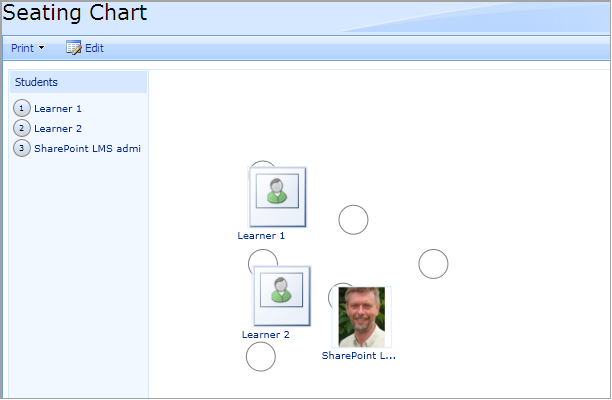
Fig. Seating Chart
Hovering over a user name in the students list will highlight the user picture on the seating chart.
Clicking on a user picture on the seating chart will highlight the student’s name in the students list.
Clicking on a user name in the students list will open the student’s profile in a new window.
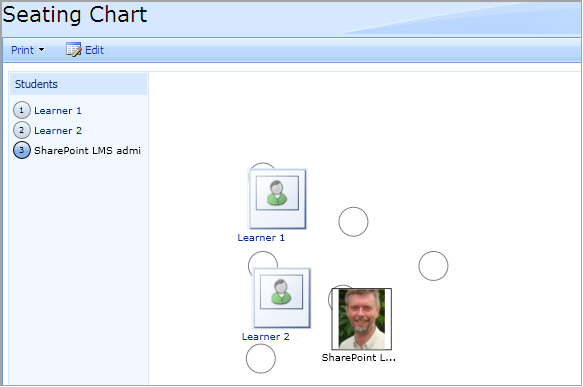
Fig. Picture Highlighted
|
NOTE: |
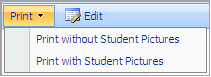
Seating charts can be printed out. To print a chart out, click Print next to the Edit button and select the necessary option.
|